Moving out can be stressful, and every detail counts if you want your security deposit back or leave a good impression on the next resident. Nail holes in the wall are a common problem—whether from hanging pictures, clocks, or shelves. Even small holes can look messy and catch the eye of landlords or buyers. The good news: fixing nail holes is a simple DIY task, and you don’t need to be a professional to do it right. With a bit of time and the right steps, you can make your walls look smooth and clean before you hand over the keys.
Why Fixing Nail Holes Matters Before Moving
Some people think a few nail holes aren’t a big deal, but they often are. Most landlords expect the walls to look the same as when you moved in. Even if you own your home, leaving holes can lower the value or delay the selling process.
Unfixed holes make the home look neglected. Plus, filling nail holes is a quick way to avoid deductions from your deposit or negative comments from buyers.
Tools And Materials You’ll Need
Before you start, gather the right supplies. Having everything ready makes the process smoother and avoids last-minute runs to the store. Here’s what you’ll need:
- Putty knife (ideally 2–3 inch)
- Wall spackle or pre-mixed joint compound
- Fine-grit sandpaper (120–220 grit)
- Damp cloth or sponge
- Primer (for painted walls)
- Touch-up paint (matching your wall color)
- Small paintbrush or roller
- Vacuum or dustpan (for cleanup)
If you have larger holes (bigger than a pencil eraser), you may also need:
- Wall patch or self-adhesive mesh
- Utility knife
Many hardware stores sell wall repair kits with most of these items included.
Step-by-step Guide: How To Fix Nail Holes In The Wall
To get a smooth finish, don’t rush. Each step builds on the last for the best results.
1. Assess The Size Of The Hole
Not all holes are the same. Small nail holes (like those from picture hangers or thumbtacks) need simple repairs. For holes larger than a quarter or where drywall is damaged, you’ll need a patch. Knowing the size helps you choose the right method.
2. Clean The Area
Dust, dirt, and loose paint can prevent spackle from sticking. Use a damp cloth to wipe around the hole. Let it dry before moving to the next step. Don’t skip this—it’s a common beginner mistake that leads to poor results.
3. Apply Spackle Or Joint Compound
For small holes:
- Put a little spackle on your putty knife.
- Press it into the hole, then scrape off extra so it’s flush with the wall.
- Allow to dry fully (usually 30 minutes to 1 hour, check your product).
For larger holes:
- Use a self-adhesive wall patch to cover the hole.
- Apply joint compound over the patch with a putty knife, feathering out the edges.
- Let it dry (may take up to 24 hours for thick layers).
Non-obvious tip: For the smoothest finish, do two thin layers instead of one thick one. Sand lightly between layers.
4. Sand The Surface
After the spackle dries, lightly rub with fine-grit sandpaper until the area is smooth and even with the wall. Wipe away dust with a damp cloth. Sanding is crucial—skipping it can make touch-up paint look bumpy.
5. Prime The Patched Area
Many people skip primer and wonder why their paint doesn’t match. Primer seals the repaired area and keeps the paint color even. Use a small brush to cover the patch and let it dry completely.
6. Paint To Match The Wall
Use your touch-up paint (ideally the same color and finish as your wall). Feather the edges so the paint blends in. If you don’t have leftover paint, check inside closets or ask your landlord for the color code. Let the first coat dry, then add a second if needed.
7. Final Check And Cleanup
After the paint dries, inspect your work in natural light. If you see bumps or uneven spots, lightly sand and repaint. Vacuum or sweep any dust, and put your tools away.
Comparing Spackle, Joint Compound, And Wall Patches
Many beginners get confused about which repair material to use. Here’s a quick comparison:
| Product | Best For | Drying Time | Ease of Use |
|---|---|---|---|
| Spackle | Small holes, dings | 30–60 mins | Very easy |
| Joint Compound | Larger holes, cracks | 1–24 hours | Medium |
| Wall Patch | Holes > 1/2 inch | 24 hours (with compound) | Easy to medium |
Credit: www.youtube.com
Mistakes To Avoid When Fixing Nail Holes
Many people make errors that ruin the final look. Here’s how to avoid them:
- Skipping cleaning – Dust stops spackle from sticking well.
- Using too much spackle – Thick layers crack as they dry.
- Not sanding – Makes the patch visible after painting.
- Skipping primer – The paint color won’t blend.
- Wrong paint match – Old paint fades, so test a small area first.
- Rushing drying time – Touching or painting before the patch dries causes peeling.
Hidden insight: For textured walls, gently dab the patch with a sponge before it dries to mimic the wall’s texture.
How To Match Paint For A Seamless Look
Nothing is more obvious than a patch with the wrong shade. If you don’t have leftover paint, remove a small chip from a hidden area and take it to the paint store. Many stores can scan the color and mix a matching sample.
For common wall types:
- Flat paint – Easiest to touch up, blends well.
- Eggshell or satin – Needs careful feathering.
- Glossy – Can be tricky. Use a foam brush for smoothness.
To blend, start painting at the center of the patch and work outward, thinning the paint at the edges. Two thin coats are better than one thick one.
When To Call A Professional
If you find:
- Multiple large holes
- Damaged drywall (from anchors, screws, or water)
- Visible mold or stains
- Wallpapered walls (patching is more complex)
It’s safer to call a handyman or painter. Fixing these issues yourself can make things worse and cost more later.
Cost And Time Estimates
Fixing a few nail holes is budget-friendly. Here’s a rough breakdown:
| Item | Average Cost (USD) | How Long It Lasts |
|---|---|---|
| Small tub of spackle | $4–$8 | Many holes |
| Sandpaper | $2–$4 | Multiple uses |
| Primer & paint (sample size) | $8–$15 | Several patches |
| Wall patch kit | $10–$20 | Several holes |
Time needed for each hole (including drying):
- Small hole: 1–2 hours (most of it waiting for drying)
- Large hole with patch: 24 hours
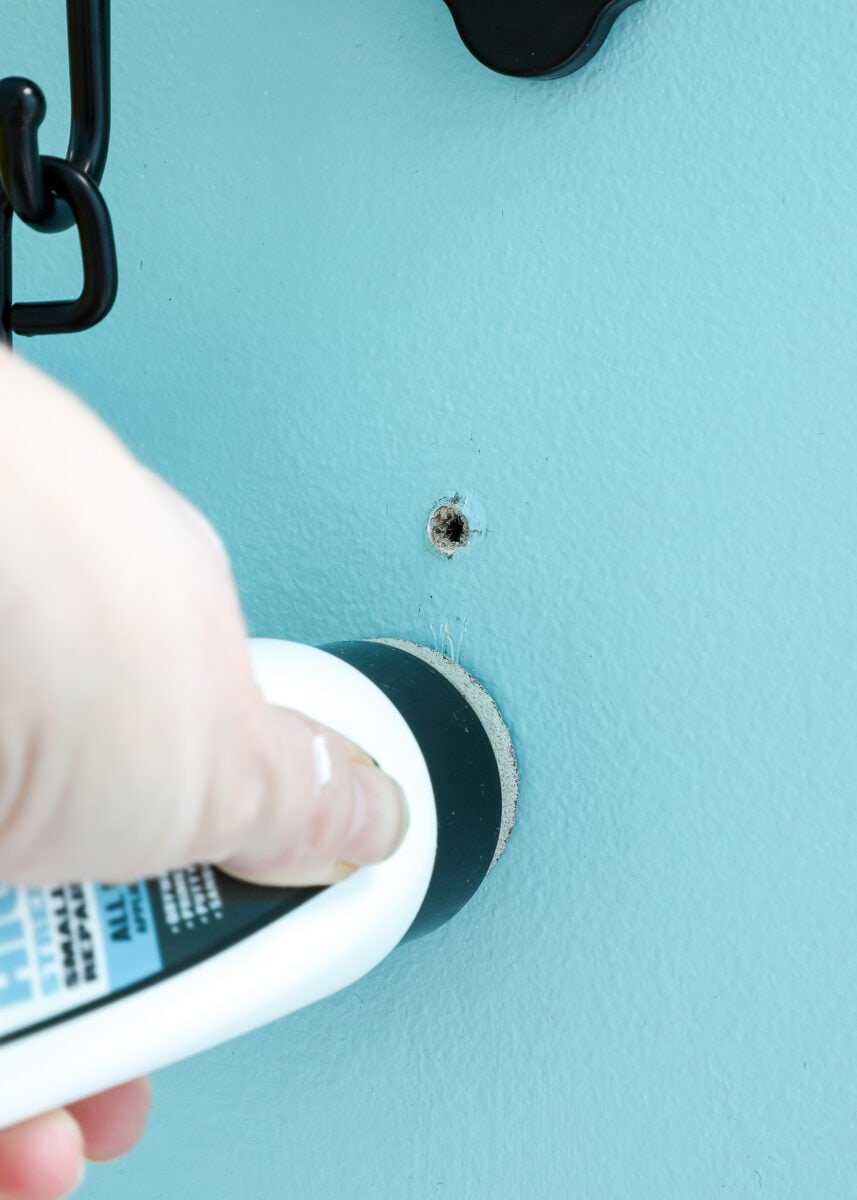
Credit: thehomesihavemade.com
Special Cases: Textured And Plaster Walls
Some walls aren’t smooth. If your walls have texture (like “orange peel” or “knockdown”), use a sponge or a special texture spray after applying spackle but before it dries. For plaster walls, use plaster patching compound instead of spackle, and let it dry longer.
If you’re unsure, test your method on a small, hidden area first.
Landlord Expectations And Security Deposits
Most rental agreements require you to return the home in its original condition, except for normal wear. Nail holes are usually not considered “normal wear,” so landlords may keep part of your deposit if you leave holes. Document your repairs with photos.
If possible, ask your landlord for their preferred repair method.
For more details on landlord-tenant responsibilities, see this Nolo guide.

Credit: www.loveandrenovations.com
How To Speed Up The Process
If you’re short on time, use fast-drying spackle and a hair dryer to speed up drying (hold it at least 12 inches away). Don’t skip sanding or priming, even if you’re in a rush. Quick fixes may look fine now but become obvious later.
Final Inspection Tips
When finished:
- Check walls in daylight and with a lamp at an angle (shows bumps).
- Feel the patch with your hand—it should be smooth and even.
- Photograph the finished wall for your records.
These simple steps can save you money and stress when moving out.
Frequently Asked Questions
How Do I Fix Nail Holes In A Plaster Wall?
Use a plaster patching compound instead of spackle. Apply with a putty knife, let it dry longer (usually overnight), then sand and paint as usual.
What If I Don’t Have Matching Paint?
Try to find a leftover can, or take a chip from a hidden spot to a paint store for matching. If you can’t match perfectly, paint from corner to corner or along a natural break to hide the difference.
Can I Use Toothpaste To Fill Nail Holes?
Toothpaste is a popular hack, but it’s not recommended for lasting results. It can crack, shrink, or fall out over time. Always use proper wall repair products for best results.
How Big Of A Hole Can I Fix Myself?
Most DIYers can fix holes up to 1 inch in diameter with a patch kit. For holes larger than a fist or with damaged drywall backing, call a professional.
Will Fixing Nail Holes Guarantee I Get My Full Deposit Back?
It helps, but landlords may have other requirements. Always check your lease and do a full move-out checklist to make sure you meet all expectations.
Fixing nail holes before moving is a small effort with big rewards. Clean, smooth walls make a great impression and protect your wallet. With these steps and tips, you can leave your old home looking as good as when you moved in.
