
Keeping your bathroom exhaust fan clean is more important than most people realize. This small device quietly works to remove moisture, odors, and airborne particles every day. If the fan gets dirty, it can stop working well, lead to mold growth, raise humidity, and even become a fire risk.
Many homeowners ignore this task until there’s a problem, but regular cleaning is simple and helps your bathroom stay fresh, healthy, and safe. This guide will show you why and how to clean your bathroom exhaust fan, step by step, using easy language and clear instructions.
Why Bathroom Exhaust Fan Cleaning Matters
A bathroom is one of the dampest places in any home. Moisture from showers and baths needs to go somewhere, or it can lead to issues like:
- Mold and mildew on walls and ceilings
- Peeling paint or wallpaper
- Musty smells that don’t go away
- Damage to wooden cabinets or doors
The exhaust fan removes wet air, but only if it’s clean. Dust, lint, and even spider webs can block airflow. According to the U. S. Department of Energy, a clean bathroom exhaust fan can improve ventilation efficiency by up to 20%.
This means your bathroom dries out faster and stays fresher.
It’s not just about comfort. Lint and dust inside the fan can become a fire hazard. Research from the National Fire Protection Association shows that dust buildup in exhaust fans causes hundreds of home fires each year. Cleaning your fan is a simple step that can prevent these risks.
How Often Should You Clean Your Bathroom Exhaust Fan?
Most experts recommend cleaning your bathroom exhaust fan at least every six months. However, if you have a large family or your fan runs daily, check it every three months. A quick look at the fan cover is enough—if you see dust or dirt, it’s time for a clean.
If you notice these signs, don’t wait:
- The fan is noisy or rattling
- Steam lingers in the bathroom after showers
- There’s a musty odor in the room
- Dust is visible on or around the fan cover
Tools And Supplies You’ll Need
Cleaning your bathroom exhaust fan does not require special equipment. Most items are already in your home. Here’s what you’ll need:
- Screwdriver (usually Phillips-head)
- Vacuum cleaner with brush or hose attachment
- Microfiber cloths or old towels
- Mild dish soap
- Soft brush (paintbrush or old toothbrush)
- Step stool or ladder (if needed)
- Bucket with warm water
- Compressed air can (optional, for deep cleaning)
Make sure your tools are clean. Avoid abrasive brushes, which can scratch the fan cover or motor.
Safety First: Preparing For Cleaning
Before you start, always follow these safety steps:
- Turn off the fan using the wall switch.
- Cut power at the circuit breaker for extra safety, especially if you’ll touch the wiring or motor.
- Wait for the fan to cool if it’s been running.
- Place a towel or drop cloth under the fan to catch dust and debris.
Never work on an electrical device when it’s plugged in or powered.
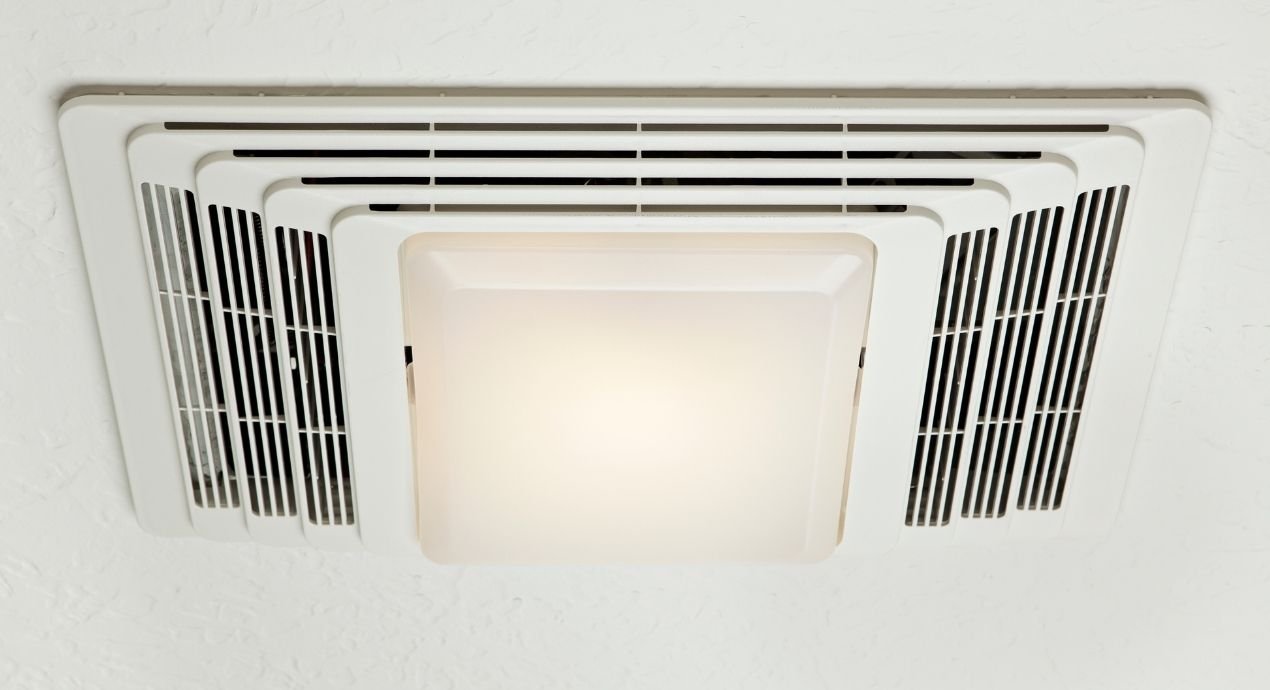
Credit: www.libertyhomeguard.com
Step-by-step Guide: How To Clean A Bathroom Exhaust Fan
Let’s break the process into simple steps so anyone can follow, even with little DIY experience.
1. Remove The Fan Cover
Most bathroom exhaust fan covers are held by spring clips or screws.
- Spring clips: Gently pull down the cover. Squeeze the metal clips to release and remove the cover.
- Screws: Use a screwdriver to remove the screws. Keep them safe so you don’t lose them.
Set the cover aside for cleaning.
2. Clean The Fan Cover
- Fill a bucket or sink with warm, soapy water.
- Soak the cover for 5–10 minutes.
- Use a soft brush or cloth to scrub away dust, dirt, and any mold.
- Rinse with clean water and dry fully.
If your cover is painted, avoid soaking for too long as this can damage the finish.
3. Vacuum Dust And Debris
- Use the vacuum’s brush or hose attachment to remove dust from the fan blades, motor, and housing.
- Be gentle. Don’t push hard on wires or moving parts.
- Pay special attention to corners and crevices where dust collects.
If you don’t have a vacuum, use a dry paintbrush to loosen dust, then wipe with a cloth.
4. Wipe Down The Fan And Housing
- Dampen a microfiber cloth with warm, soapy water.
- Carefully wipe the fan blades, motor cover, and inside the housing.
- Avoid letting water drip onto the motor or electrical parts.
For stubborn dirt, use a soft brush or toothbrush.
5. Deep Cleaning (optional)
For extra thorough cleaning:
- Use a can of compressed air to blow dust out of hard-to-reach places.
- If the fan is very dirty, you can unscrew and gently remove the fan motor from the housing. Clean as above, but always check the manufacturer’s instructions first.
- Never soak electrical parts in water.
6. Reassemble And Test
- Make sure all parts are dry before reassembly.
- Put the fan cover back (replace screws or snap clips).
- Restore power at the circuit breaker.
- Turn on the fan and check for smooth, quiet operation.
If you hear rattling or the fan doesn’t work, double-check that the cover is properly attached.
Comparison: Dirty Vs. Clean Bathroom Exhaust Fan
Here’s a quick comparison to show the difference a clean fan can make.
| Aspect | Dirty Fan | Clean Fan |
|---|---|---|
| Airflow | Poor, slow moisture removal | Strong, fast moisture removal |
| Noise | Loud, rattling | Quieter, smoother |
| Odor | Musty smells linger | Odors removed quickly |
| Safety | Higher fire risk | Safer operation |
Even a few minutes of cleaning can improve every aspect of your bathroom environment.
Common Mistakes To Avoid
Many people think cleaning the cover is enough, but dust can build up inside the fan too. Here are other mistakes to watch out for:
- Not turning off power: This is risky and could lead to electric shock.
- Using too much water: Water and electricity don’t mix. Always use a damp, not wet, cloth.
- Forgetting to dry parts: Moisture left inside the fan can cause rust or electrical problems.
- Skipping regular cleaning: Waiting until the fan is noisy or dirty means more effort later.
- Ignoring the fan motor: Dust here can make the fan overheat.
Signs Your Fan Needs More Than Cleaning
Sometimes, cleaning is not enough. Watch for these warning signs:
- Fan makes grinding or buzzing noises
- Fan does not turn on or is weak even after cleaning
- There’s visible rust or water damage
- The cover or housing is broken or cracked
If you see any of these, it may be time to replace the fan or call a professional.
Tips For Easier Cleaning And Maintenance
- Install a reminder: Place a sticker in your bathroom to remind you when the next cleaning is due.
- Vacuum regularly: Run the vacuum over the fan cover when you clean the bathroom.
- Upgrade to a cover with a filter: Some new fans have filters that are easier to clean.
- Consider a timer: Fans with timers run long enough to clear moisture, even if you forget to turn them off.
- Check for bathroom leaks: Fix leaky faucets or pipes to reduce the amount of moisture your fan has to handle.
Table: How Long Does It Take To Clean?
Knowing how much time you’ll need can help you plan. Here’s a breakdown.
| Step | Time Needed |
|---|---|
| Remove cover | 2 minutes |
| Soak and clean cover | 10 minutes |
| Vacuum and wipe fan | 10 minutes |
| Reassemble and test | 3 minutes |
| Total | ~25 minutes |
A full clean takes less than half an hour for most standard fans.
When To Call A Professional
If you’re not comfortable dealing with electrical parts, or if your fan is built into the ceiling with no easy access, consider calling an electrician or handyman. Professional cleaning may cost between $75 and $150, but it’s a good investment for hard-to-reach or older fans.
You should also call a pro if you see wiring problems, water leaks, or suspect mold inside the ceiling.
Table: Cost Comparison – Diy Vs. Professional Cleaning
Let’s compare the costs of cleaning the fan yourself versus hiring someone.
| Option | Average Cost | Time Required |
|---|---|---|
| DIY Cleaning | $0–$10 (for supplies) | ~25 minutes |
| Professional Cleaning | $75–$150 | ~1 hour |
DIY is usually much cheaper, but professional help is best for tricky jobs.
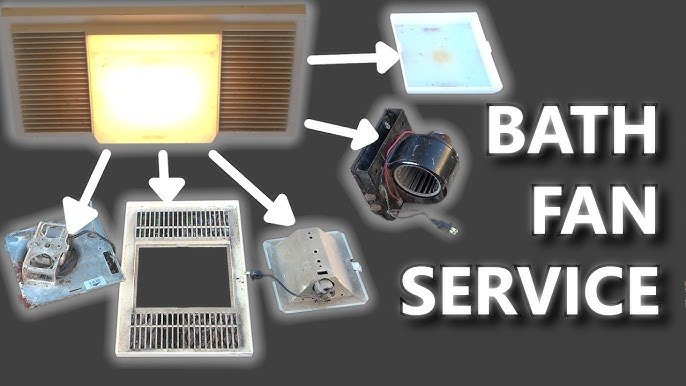
Credit: www.youtube.com
Non-obvious Insights For Beginners
Many people forget that humidity sensors in modern fans can get blocked by dust, reducing their effectiveness. If your fan has a sensor, gently clean it with a soft cloth.
Another beginner mistake is ignoring the ductwork leading from the fan to the outside. Over time, dust and even mold can build up inside the duct. If you notice weak airflow after cleaning the fan, consider inspecting or vacuuming the duct as well.
Extra Resources
For more detailed information on exhaust fan safety and maintenance, you can visit the U.S. Department of Energy.

Credit: www.rebath.com
Frequently Asked Questions
How Often Should I Clean My Bathroom Exhaust Fan?
Most people should clean the fan every six months, but busy households may need to do it every three months. If you see dust, hear noise, or notice poor performance, clean it sooner.
Can I Use A Vacuum Cleaner To Clean The Fan?
Yes, a vacuum with a hose or brush attachment works well for removing dust and debris from the fan blades and housing. Just be gentle and avoid hitting the motor.
What If My Fan Is Very Noisy After Cleaning?
A loud fan may have a loose part or need lubrication. If noise continues after cleaning and tightening the cover, check for worn-out bearings or consider replacing the fan.
Is It Safe To Spray Water Into The Fan?
No, never spray water directly into the fan or motor. Use a damp cloth instead. Water can damage electrical parts and create a shock risk.
Do All Bathroom Fans Need To Be Cleaned The Same Way?
Most fans use similar methods, but always check your manufacturer’s instructions. Some modern fans have removable filters or sensors that need special care.
Keeping your bathroom exhaust fan clean is a small task with big benefits. You’ll enjoy fresher air, prevent mold, lower fire risks, and help your fan last longer. Make it a part of your regular cleaning routine, and your bathroom will stay a healthier, more comfortable place for everyone.