
Your kitchen can be a place of joy, creativity, and comfort—or it can be a source of daily stress. Messy cabinets make cooking harder, waste your time, and even lead to buying things you already have. But with some smart planning, you can transform your kitchen into a space where everything is easy to find and use.
Organizing your kitchen cabinets step by step helps you enjoy cooking, save money, and reduce frustration. Whether you have a small apartment kitchen or a big family one, the right approach makes a world of difference.
This guide will walk you through each step, from clearing out old items to setting up a system you can keep up easily. Along the way, you’ll find practical tips, real examples, and even a few insights most people overlook.
Get ready to reclaim your kitchen cabinets and make your daily cooking routine smoother and more enjoyable.
Step 1: Empty Your Cabinets Completely
The first big task is to take everything out. It sounds simple, but it’s key. Remove all items from every cabinet, drawer, and shelf. Lay them out on a clean counter or table. This step lets you see exactly what you own and helps you start with a blank slate.
As you empty, group similar items together: all the plates in one spot, pots in another, and so on. This will make the next steps much easier. Many people skip this full removal, but it’s the only way to spot hidden or forgotten items.
Don’t forget to clear out rarely used spaces, like the very top shelves or deep corners. Sometimes, you’ll find old gadgets or expired food hiding there.
Step 2: Clean Every Surface
Now is the perfect time to clean your cabinets thoroughly. Wipe down all shelves, walls, and corners with a gentle cleaner or warm soapy water. Dry everything well to prevent mold and odors.
Don’t just focus on visible dirt. Look for crumbs or spills behind items—these can attract insects or cause smells. For stubborn spots, use a mix of baking soda and water.
If you notice sticky residue from shelf liners, remove them and replace with new ones if needed. Clean cabinet handles and doors too; greasy fingerprints can build up over time.
Step 3: Declutter Ruthlessly
Sorting through what you own is the heart of organizing. Decide what to keep, donate, recycle, or throw away. Be honest. If you haven’t used a gadget in a year, will you really need it? Check for chipped dishes, broken lids, or containers missing their partners.
Here are common categories to consider:
- Expired foods (check spices, baking goods, canned food)
- Duplicate tools (do you need three spatulas?)
- Specialty gadgets used once a year
- Plastic containers without lids
- Old water bottles and travel mugs
Most people underestimate how much space these unused items take up. Letting go of them opens up room for what you actually use.
Step 4: Sort Items By Category
With only useful items left, sort everything into groups. The goal is to keep similar things together so you can find them quickly. Here are common kitchen categories:
- Plates, bowls, and cups
- Glasses and mugs
- Pots, pans, and lids
- Bakeware
- Food storage containers
- Cooking utensils (spatulas, ladles)
- Cutlery (knives, forks, spoons)
- Spices
- Pantry staples (rice, pasta, canned goods)
- Cleaning supplies
If you have unique items, create your own categories. For example, if you bake often, keep all baking tools together. This step saves time every day.
Step 5: Plan Your Cabinet Layout
Now it’s time to decide where everything should go. Think about how you cook and what you reach for most. Items you use daily should be easy to grab. Less-used items can go on higher or lower shelves.
When planning, ask yourself these questions:
- What do I use every day?
- Which items are heavy or hard to reach?
- Where do I have the most space?
Here is a comparison of common placement ideas:
| Item Type | Best Location | Why |
|---|---|---|
| Plates & Bowls | Lower shelves near dishwasher | Easy to put away & grab for meals |
| Pots & Pans | Cabinet near stove | Quick access during cooking |
| Bakeware | Top shelves or deep cabinets | Used less often |
| Spices | Small cabinet near prep area | Handy while seasoning food |
Remember: You don’t have to follow old habits. If something isn’t working, try a new spot.
Step 6: Use Organizers And Dividers
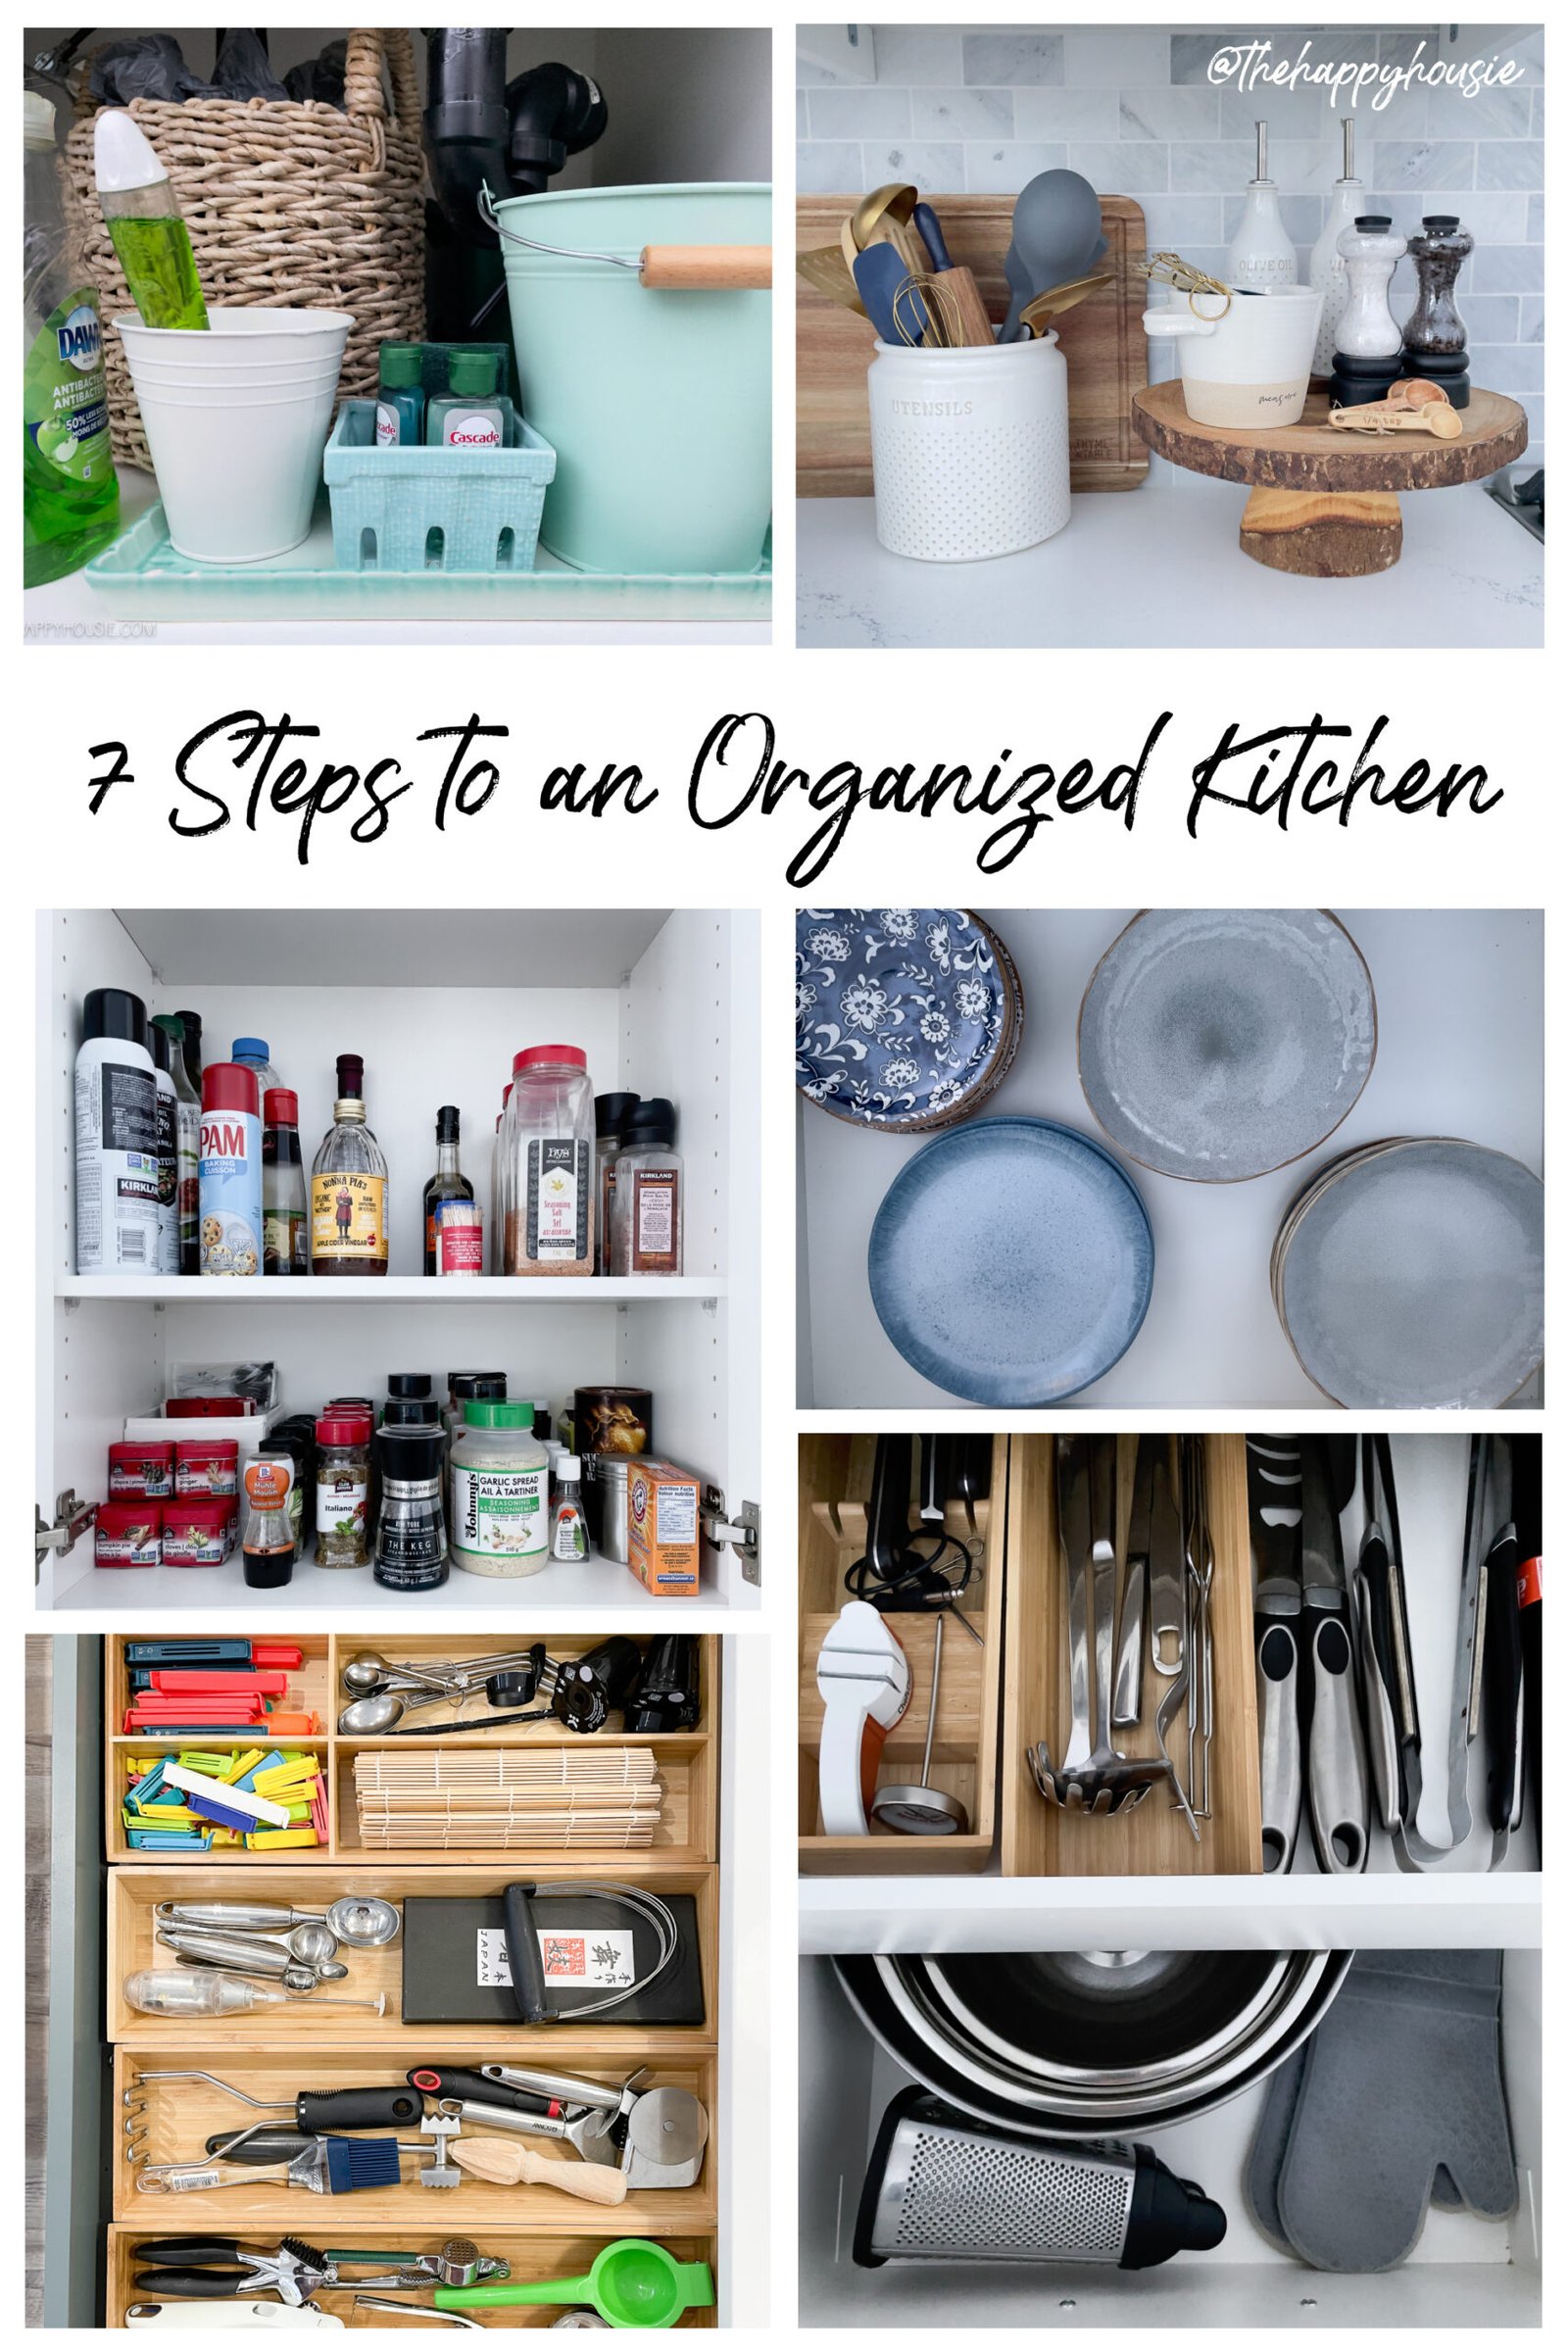
Cabinet organizers can double your storage and keep things tidy. Look for shelf risers, pull-out baskets, turntables (lazy Susans), and drawer dividers. These tools help you see everything and prevent items from getting lost in the back.
For example:
- Use a turntable for spices or sauces in corner cabinets.
- Add vertical dividers for baking sheets and cutting boards.
- Use clear bins for snacks or packets.
- Install drawer organizers for utensils.
Here’s a quick comparison of popular organizers:
| Organizer | Best For | Advantage |
|---|---|---|
| Turntable (Lazy Susan) | Spices, oils, sauces | Easy access in corners |
| Shelf Riser | Plates, cups, canned food | Uses vertical space |
| Pull-Out Basket | Deep cabinets, cleaning supplies | No more lost items in back |
| Drawer Divider | Utensils, cutlery | Keeps drawers neat |
Before buying anything, measure your cabinet sizes. Not all organizers fit all cabinets. People often make the mistake of buying organizers first, only to find they don’t fit.
Step 7: Arrange Items Back In Cabinets
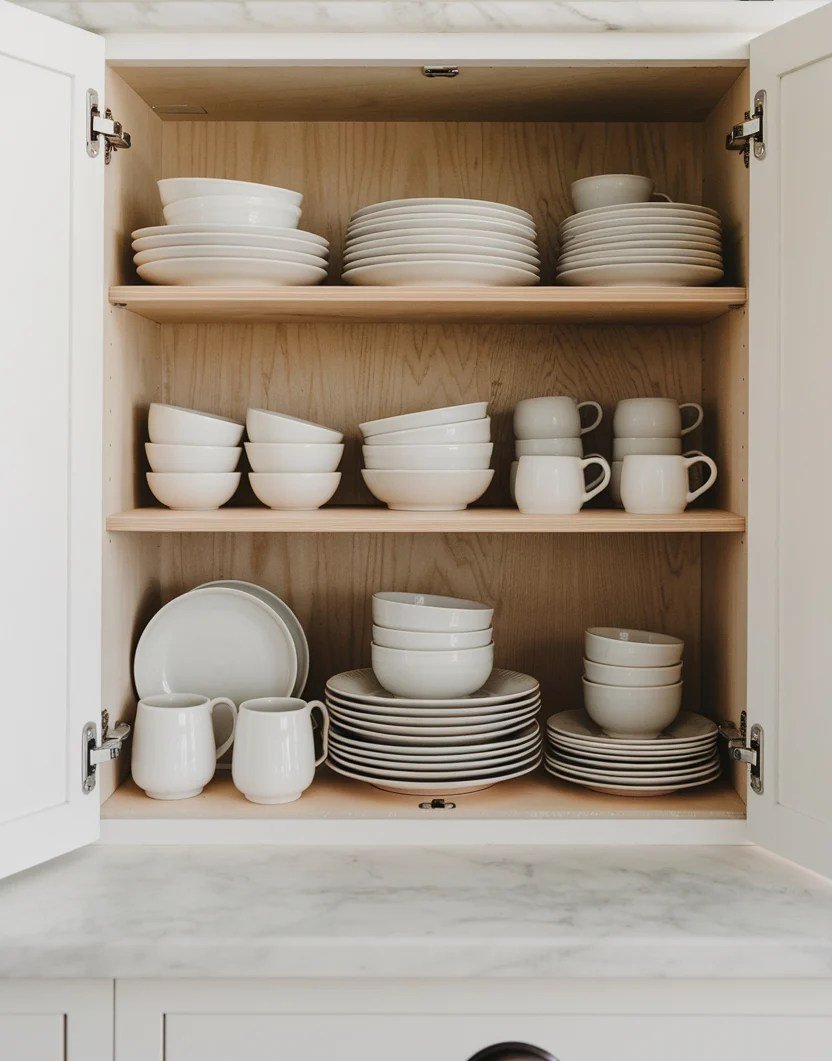
Start with the most-used items. Place them in the easiest-to-reach spots. Store heavy items like pots on lower shelves to avoid lifting accidents. Stack plates and bowls by type, not by color or brand—this makes daily use easier.
Some practical tips for arranging:
- Store pots and pans with their lids nearby or use a lid organizer.
- Keep glasses and mugs near the sink or coffee area.
- Put snacks and breakfast foods together if you have kids.
- Use the back of cabinet doors for hooks or small racks.
Don’t cram cabinets full. Leave a little space so you can add new items without a big reshuffle.
Step 8: Label Where Needed
Labels are a secret weapon for keeping things organized, especially if you share a kitchen. Use simple labels for bins, baskets, and shelves. Handwritten labels, sticker labels, or even masking tape work well.
Labeling helps everyone know where things go. For example, label a bin “Snacks” or a shelf “Baking Supplies. ” Over time, this makes it natural to put things back in their right place.
If you have kids or roommates, clear labels reduce confusion and messy cabinets.
Credit: organizedwithkids.com
Step 9: Store Food Efficiently
For pantry-style cabinets or shelves with food, use airtight containers for flours, rice, and snacks. This prevents bugs, keeps food fresh, and looks neat. Group similar foods together (all pasta in one bin, all baking supplies in another).
Airtight glass or plastic containers let you see what you have. Try to keep older items in front so you use them up first. This “first in, first out” method reduces waste.
Don’t forget to check expiry dates regularly. Even shelf-stable foods can go bad over time.
Step 10: Make Space For Special Items
Most kitchens have at least one or two specialty items—maybe a rice cooker, blender, or holiday dishes. Decide where these belong. If you use them often, keep them in easy reach. For rarely used items, store them on higher shelves or even outside the kitchen if space is tight.
A common mistake is letting special gadgets take up prime cabinet space. Instead, rotate them out seasonally or keep them together in a “specialty appliances” area.
Step 11: Maintain Your System
Organization isn’t a one-time task. Set a reminder every few months to tidy your cabinets. Quickly remove expired foods and put things back in their categories. This takes just a few minutes if you keep up with it.
If you notice items piling up in odd places, adjust your system. Maybe you need a new bin or a label. Flexibility keeps your kitchen running smoothly.
Two Insights Most Beginners Miss
- Leave “breathing room” in every cabinet. Filling every inch makes it harder to find things and increases the chance of mess. Leaving gaps helps you see what you have and makes daily use easier.
- Plan for growth. Your kitchen won’t stay the same forever. Leave space for new recipes, gadgets, or family members. If your cabinets are at maximum capacity now, you’ll quickly end up cluttered again.
Common Mistakes To Avoid
- Organizing before decluttering. You’ll waste time and space on items you don’t use.
- Ignoring vertical space. Use stackable shelves and organizers to add more storage.
- Forgetting to measure. Always check sizes before buying bins or racks.
- Not labeling. This leads to confusion and mess, especially in shared kitchens.
- Over-filling cabinets. Makes it hard to get things out and encourages clutter.
Real-life Example: Small Apartment Kitchen
Maria lives in a small city apartment with just three cabinets. She emptied everything out and realized she owned five frying pans but used only two. After donating extras, she used a shelf riser to stack plates and bowls, freeing up space for food storage containers.
She grouped spices on a small turntable and labeled bins for rice and snacks. Now, she cooks more at home, spends less on groceries, and never loses time searching for tools.
Credit: www.thehappyhousie.com
Data: How Organizing Saves Time And Money
Studies show that the average person spends 55 minutes a day looking for things at home, and the kitchen is a top area for wasted time. Organized cabinets help you:
- Reduce food waste (by up to 20%)
- Cut down on duplicate purchases
- Make cooking faster and more enjoyable
According to the New York Times, a well-organized kitchen saves the average household about $600 per year by reducing waste and avoiding unnecessary purchases.
Frequently Asked Questions
What Is The Best Way To Start Organizing Kitchen Cabinets?
Start by emptying all cabinets completely. This lets you see what you have and makes cleaning and sorting easier. Group similar items as you go, so the next steps are smoother.
How Often Should I Reorganize My Kitchen Cabinets?
Check your cabinets every 3 to 6 months. A quick tidy-up keeps things in order and prevents clutter from building up. Adjust your system if your needs change or new items pile up.
Credit: www.thehappyhousie.com
Are Cabinet Organizers Really Necessary?
Organizers aren’t essential, but they help a lot. Shelf risers, turntables, and bins make it easier to use every inch of space and keep items easy to find. Just be sure to measure before buying.
How Do I Keep My Cabinets Organized With Kids Or Roommates?
Use labels and clear bins. Teach everyone to put items back in their spots. Make snacks and breakfast foods easy to reach, and keep breakable or sharp items out of reach.
What Should I Do With Items I Don’t Use But Can’t Throw Away?
Store sentimental or rarely used items on higher shelves or outside the kitchen if possible. If you must keep them, use labeled bins so they don’t mix with everyday things.
An organized kitchen cabinet system isn’t just about looks—it’s about making your life easier, saving money, and enjoying your kitchen more. With these steps, you’ll create a space that works for you, every day.