
A tangled mess of cables behind your TV stand is more than just an eyesore. It can collect dust, make cleaning difficult, and even become a safety hazard. Whether you have a simple setup or a full home theater system, organizing cables not only looks better but also protects your devices and makes future upgrades much easier.
With a bit of planning, the right tools, and some practical strategies, you can create a clean and safe entertainment area that stays neat for years.
Why Cable Organization Matters
Many people underestimate the impact of cable management. When cables are left tangled, they can be accidentally unplugged, get damaged, or cause tripping hazards. Properly organized cables:
- Improve airflow behind electronics, helping prevent overheating.
- Reduce wear and tear on connectors and ports.
- Make it much easier to find and replace devices.
- Help avoid interference that can affect audio and video quality.
A well-organized setup also helps when you move, rearrange, or upgrade your system. You’ll spend less time tracing cables and more time enjoying your favorite shows.
Assess Your Setup First
Before you start, take a few minutes to look at what you have. This step helps you decide what tools you’ll need and how much work is involved.
- Unplug everything. Power off all devices and remove every cable. You’ll be surprised how much dust collects!
- Sort cables by type. Group together HDMI, power, speaker, Ethernet, and any other cables.
- Decide what to keep. Remove any cables you’re not using. Old, broken, or extra-long cables add unnecessary clutter.
- Measure cable lengths. Short cables are easier to manage, but make sure they’re long enough to reach their devices comfortably.
Taking time to assess your setup avoids frustration later, especially if you discover you need different cable lengths or connectors.
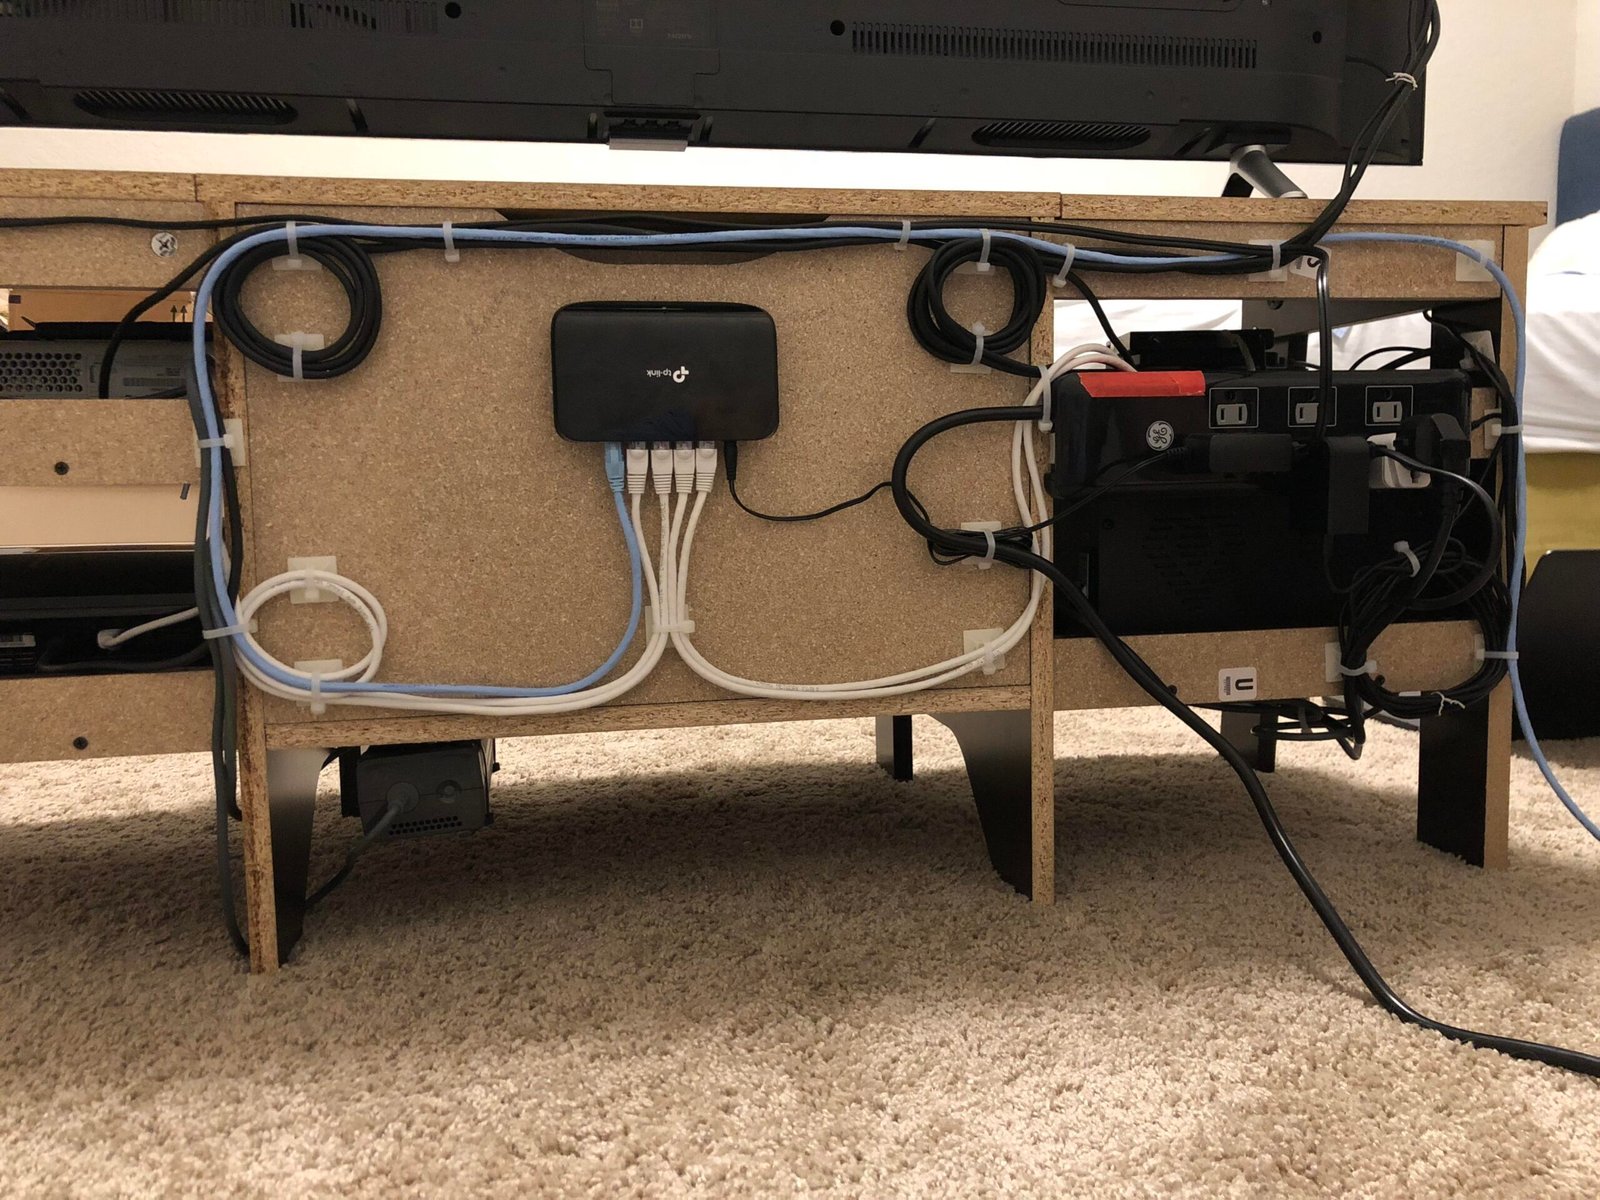
Credit: www.reddit.com
Essential Tools And Materials
You don’t need expensive gadgets to organize cables well. Here are some must-have items:
- Cable ties: Reusable Velcro or plastic zip ties to bundle cables together.
- Cable clips or hooks: For attaching cables to furniture or walls.
- Cable sleeves: Flexible tubes that group several cables into one neat bundle.
- Cord management boxes: Hide power strips and bulky adapters.
- Label maker or tags: Mark each cable for easy identification.
- Double-sided tape or mounting putty: Secure small items or cable clips.
- Surge protector: Protect electronics and provide organized power outlets.
You can find these tools at hardware stores or online. Using the right materials makes a huge difference in the final result.
Planning Your Cable Route
Planning where each cable will run is the secret to a tidy look. It also prevents crossing power and signal cables, which can cause interference.
- Map device locations. Sketch your TV stand and devices on paper, or take a photo.
- Choose cable paths. Decide if cables will run along the back of the stand, on the wall, or inside cable sleeves.
- Separate power and data cables. Keep power cords and signal cables (like HDMI) apart to reduce electronic noise.
- Allow slack, not excess. Leave enough cable to move devices for cleaning but avoid long, hanging loops.
- Plan for future devices. Leave space for possible upgrades, like a new game console or soundbar.
Step-by-step Cable Organization
Here’s a proven method for organizing cables behind your TV stand:
1. Disconnect And Clean
Unplug every device and remove all cables. Clean the floor, wall, and stand. Dust and dirt can damage electronics and make your work harder.
2. Sort And Label Cables
Label both ends of each cable. Use a label maker or simple masking tape and a pen. This step saves time if you ever need to disconnect something.
3. Group Cables By Destination
Bundle cables going to the same device. For example, group all the wires that connect to your streaming box together. Use Velcro ties for easy adjustments later.
4. Attach Cables To Furniture Or Wall
Use cable clips or adhesive hooks to secure bundles along the back or underside of the TV stand. Keep cables tight to surfaces, so they don’t dangle.
5. Use Cable Sleeves Or Tubes
For areas where multiple cables run together, use a cable sleeve. This keeps everything in one bundle and protects against dust.
6. Hide Power Strips
Place power strips inside a cord management box. These boxes have slots for cables and keep plugs covered, reducing clutter and improving safety.
7. Connect Devices
Plug each device back in, following your labeled cables. Check everything works before finalizing the setup.
8. Final Adjustments
Tidy up any loose sections. Add extra ties or clips where needed. Make sure there’s enough slack for moving devices, but no extra loops.
Useful Cable Management Products Compared
Not all cable organizers are equal. Here’s a quick comparison of popular options:
| Product Type | Best For | Pros | Cons |
|---|---|---|---|
| Velcro Cable Ties | Adjustable bundling | Reusable, easy to change | Can loosen over time |
| Plastic Zip Ties | Permanent holds | Strong grip, cheap | Single-use, must cut to remove |
| Cable Sleeves | Multiple cables | Neat look, dust protection | Less flexible for changes |
| Cable Clips | Guiding cables | Easy to install, prevents sagging | May lose stickiness over time |
| Cord Management Box | Power strips and adapters | Hides clutter, improves safety | Takes up extra space |
Choosing the right product depends on your specific setup and how often you change devices.
Wall Mounting And In-wall Solutions
If your TV is wall-mounted, cable management becomes even more important. Exposed wires on the wall ruin a clean look.
- Raceways: Plastic channels that stick to the wall and hide cables.
- In-wall kits: Let you run power and AV cables inside the wall for a truly invisible setup. (Check local building codes before installing.)
- Cord covers: Paintable strips that blend with your wall.
Wall solutions require more work but deliver the neatest results. Always check for electrical safety when working inside walls.
Hiding Cables On A Budget
You don’t need to spend much to get a cleaner look. Here are some low-cost tricks:
- Use binder clips attached to the back of furniture as simple cable holders.
- Cut a slit in an old pool noodle or piece of foam pipe insulation for a homemade cable sleeve.
- Wrap extra cable length around a paper towel tube and label it.
- Use twist ties from bread bags as temporary cable ties.
A little creativity can go a long way. The key is to keep cables together, off the floor, and out of sight.
Safety Tips You Shouldn’t Ignore
A neat setup is important, but safety matters most:
- Never run power cables under rugs or through doors, which can cause overheating or wear.
- Avoid overloading power strips.
- Use surge protectors to protect against electrical spikes.
- Make sure cables are not pinched by furniture.
- Keep cables away from heat sources, like radiators.
Good cable management means safer electronics and fewer risks in your home.
Practical Tips And Advanced Tricks
Some solutions are not obvious to beginners but make a big difference:
- Color code your cables. Use colored ties or tape (red for HDMI, blue for Ethernet, etc.) For instant identification.
- Leave a service loop. Add a small loop of extra cable behind each device. This makes it easier to pull out and plug in without unplugging everything.
- Use sticky cable labels. Mark both ends of every cable. This is a lifesaver for repairs or upgrades.
- Bundle cables by function. Keep audio, video, and power cables in separate groups to reduce interference.
- Mount a small shelf or basket on the back of your TV stand to hold routers, power bricks, or adapters.
These advanced tricks often separate messy setups from professional-looking ones.
Common Mistakes And How To Avoid Them
Many people make similar mistakes when organizing cables:
- Using cable ties too tightly. This can damage wires and make changes hard.
- Cutting cables too short. Always allow a little slack.
- Mixing power and signal cables together. Keep them separated to avoid static or picture issues.
- Forgetting to label. Unlabeled cables make future changes frustrating.
- Ignoring dust. Dust buildup around cables can cause overheating and allergies.
Being aware of these mistakes helps you create a setup that lasts.
Example: Organizing A Home Theater Setup
Let’s take a typical home theater with a TV, soundbar, streaming device, game console, and Blu-ray player. Here’s how you might organize it:
- Unplug all devices and clean the area.
- Sort cables: HDMI for video, optical or RCA for audio, power cords, Ethernet for internet.
- Bundle HDMI cables together using Velcro ties.
- Attach all power cords to the back leg of the TV stand with cable clips.
- Hide the power strip inside a cord management box behind the stand.
- Use a cable sleeve for all cables running to the wall outlet.
- Label each end of every cable.
- Plug everything back in, checking for slack and neatness.
- Double-check that power and signal cables are separated.
This process works for setups of any size and can be adjusted as your system grows.
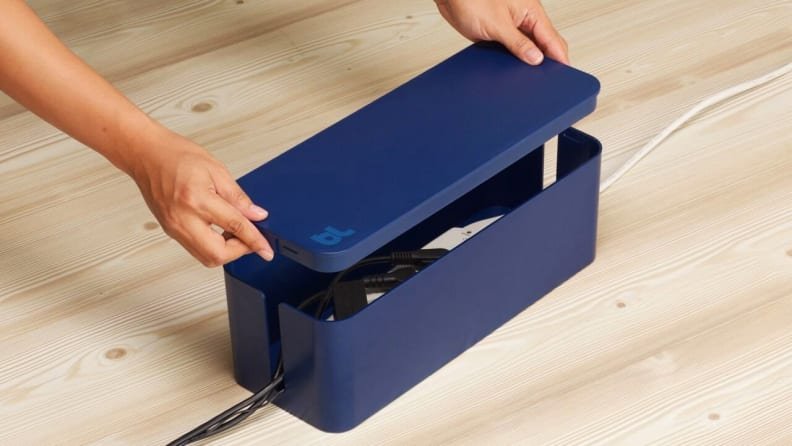
Credit: www.reviewed.com
Benefits Of Good Cable Management
A well-organized TV area brings more than just a tidy look:
- Easier troubleshooting: Labeled, grouped cables make solving problems faster.
- Simpler upgrades: New devices can be added or removed with less hassle.
- Improved safety: Fewer tripping hazards and less risk of electrical problems.
- Longer equipment life: Good airflow prevents overheating and damage.
Over time, these benefits save you time, money, and frustration.
Real-world Data: How People Manage Their Cables
A recent survey by a leading home electronics magazine found:
| Cable Management Method | Percentage of Users | User Satisfaction (1-5) |
|---|---|---|
| No management (loose cables) | 42% | 2.1 |
| Basic ties/clips | 35% | 3.9 |
| Cable sleeves/boxes | 18% | 4.4 |
| In-wall solutions | 5% | 4.7 |
Most people are happier with even basic cable organization. Advanced solutions bring the highest satisfaction, especially in larger setups.
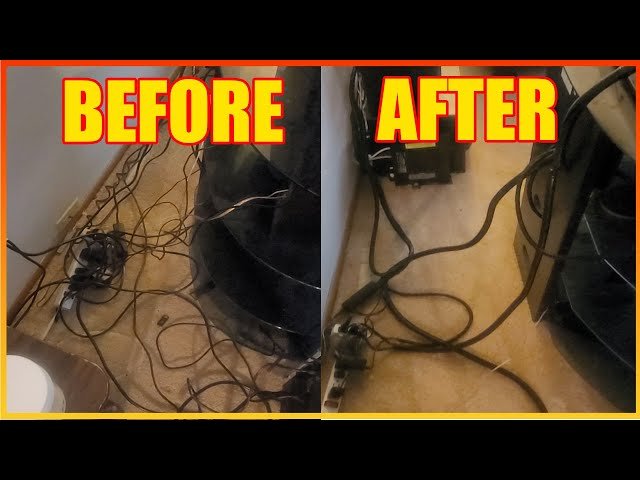
Credit: www.youtube.com
Frequently Asked Questions
How Do I Keep Cables From Tangling Behind My Tv Stand?
Bundling cables with Velcro ties or running them inside cable sleeves prevents tangling. Secure them to the furniture with clips, and keep enough slack for movement. Grouping by device or function also helps avoid confusion.
What’s The Best Way To Label Tv Cables?
Use a label maker or masking tape and a pen to mark both ends of each cable. Color-coded labels (red for HDMI, blue for Ethernet, etc.) make identification even faster, especially if you ever move or upgrade your devices.
Is It Safe To Run Cables Behind Walls?
Running low-voltage cables (HDMI, Ethernet) inside walls is usually safe, but always follow local building codes. For power cables, use a proper in-wall rated kit. Never run standard extension cords inside walls, as this can be a fire hazard. For more details, visit the Electrical Wiring guide on Wikipedia.
Can I Use Regular Zip Ties For Cable Management?
Yes, zip ties are strong and cheap, but only use them for permanent bundles. They must be cut to remove, and overtightening can damage cables. For flexibility and safety, Velcro ties are a better choice for most home setups.
How Often Should I Reorganize My Tv Cables?
Check your cables every few months, especially after adding or removing devices. Dust the area and look for any signs of wear or loose connections. Reorganizing once or twice a year keeps your setup neat and safe.
A little effort in cable management behind your TV stand pays off in looks, safety, and convenience. With smart planning and the right tools, anyone can create a tidy, professional-looking space to enjoy movies, games, and streaming without the mess.